

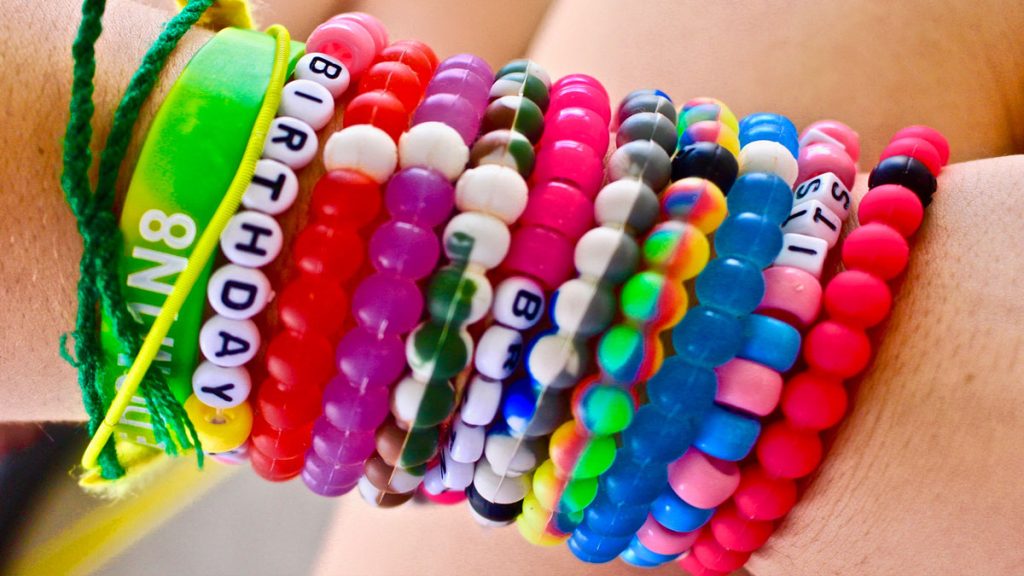
To make a friendship bracelet, cut 3–6 strands of embroidery floss to about 36 inches each, tape or pin them to a flat surface, and knot them together in a repeating pattern using simple forward and backward knots. Once you know the basic knots, you can create dozens of different patterns, from simple stripes to chevrons and diagonal waves — making it one of the most popular cabin and rainy-day crafts at camp.
What You Need
- Embroidery floss in 3–6 colors
- Scissors
- Tape, a safety pin, or a clipboard to anchor your strands while you work
Cut each strand about 36 inches long, or fold an 18-inch strand in half for a doubled thread — either works for most patterns. Tie all the strands together in a single knot at the top, then tape or pin that knot to your work surface so the threads stay put while you knot.
Learn the Basic Knots
Every friendship bracelet pattern comes down to two knots, repeated in different orders:
- Forward knot: Cross your working thread over the next thread to the right and pull it through, like tying a small loop, then repeat for a snug double knot.
- Backward knot: The same motion, but moving to the left instead of the right.
Once these feel natural, you can start combining them into real patterns.
Popular Patterns to Try
- Chevron: Alternate forward knots moving left-to-right and backward knots moving right-to-left, meeting in the middle to form a “V” shape.
- Diagonal stripes: Use one color as your “working” thread and knot it across every other strand in order, then repeat with a new color for the next row.
- Candy stripe: The simplest pattern — just alternate two colors with forward knots all the way across, a great starting point for beginners.
Tips for a Sturdy, Even Bracelet
- Keep it anchored: Tape, a safety pin, or a clipboard keeps your strands from shifting and makes every knot easier to tie evenly.
- Knot it snug: Loose knots make a sloppy pattern, so pull each one tight before moving to the next.
- Finish it off: Tie a final overhand knot and trim the ends, or braid the last inch for a neater look.
Why It’s a Camp Favorite
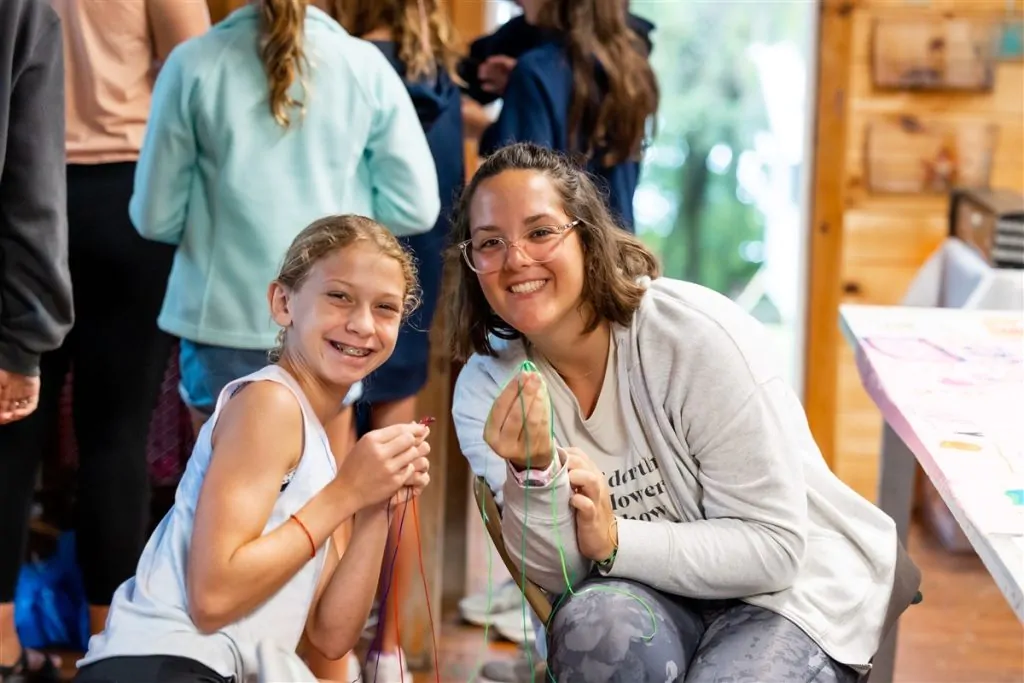
Friendship bracelets are a mainstay of camp arts and crafts programs for good reason: they’re inexpensive, portable, and easy to pick up and put down between activities. They’re also, true to the name, a natural way for campers to bond — making a bracelet for a new bunkmate is one of the simplest ways kids build friendships in the first few days of a session.
Frequently Asked Questions
How long does a friendship bracelet take to make?
A simple pattern like candy stripe can take 20–30 minutes, while a detailed chevron or diagonal design can take an hour or more depending on length and the number of colors.
What’s the easiest pattern for beginners?
Candy stripe is the best starting point since it only uses one knot repeated in the same direction, which helps campers get comfortable with tension and rhythm before trying a chevron.
Do camps supply the materials?
Most camp arts and crafts programs stock embroidery floss and other bracelet-making supplies as part of the regular activity schedule, so campers don’t need to bring their own.
Find a Camp With a Strong Arts and Crafts Program
If your camper loves crafts, look for a program with dedicated arts facilities and staff. Browse ASC partner camps to compare programs and find one with the right creative outlets for your child.
